
화햇 3기 기초 교육 받으면서 apk 분석을 처음 해봤는데 재밌었다.
이라는 사이트인데
문제 중 write up을 쓸 수 있는 문제가 하나 있습니다.
ProjectApp
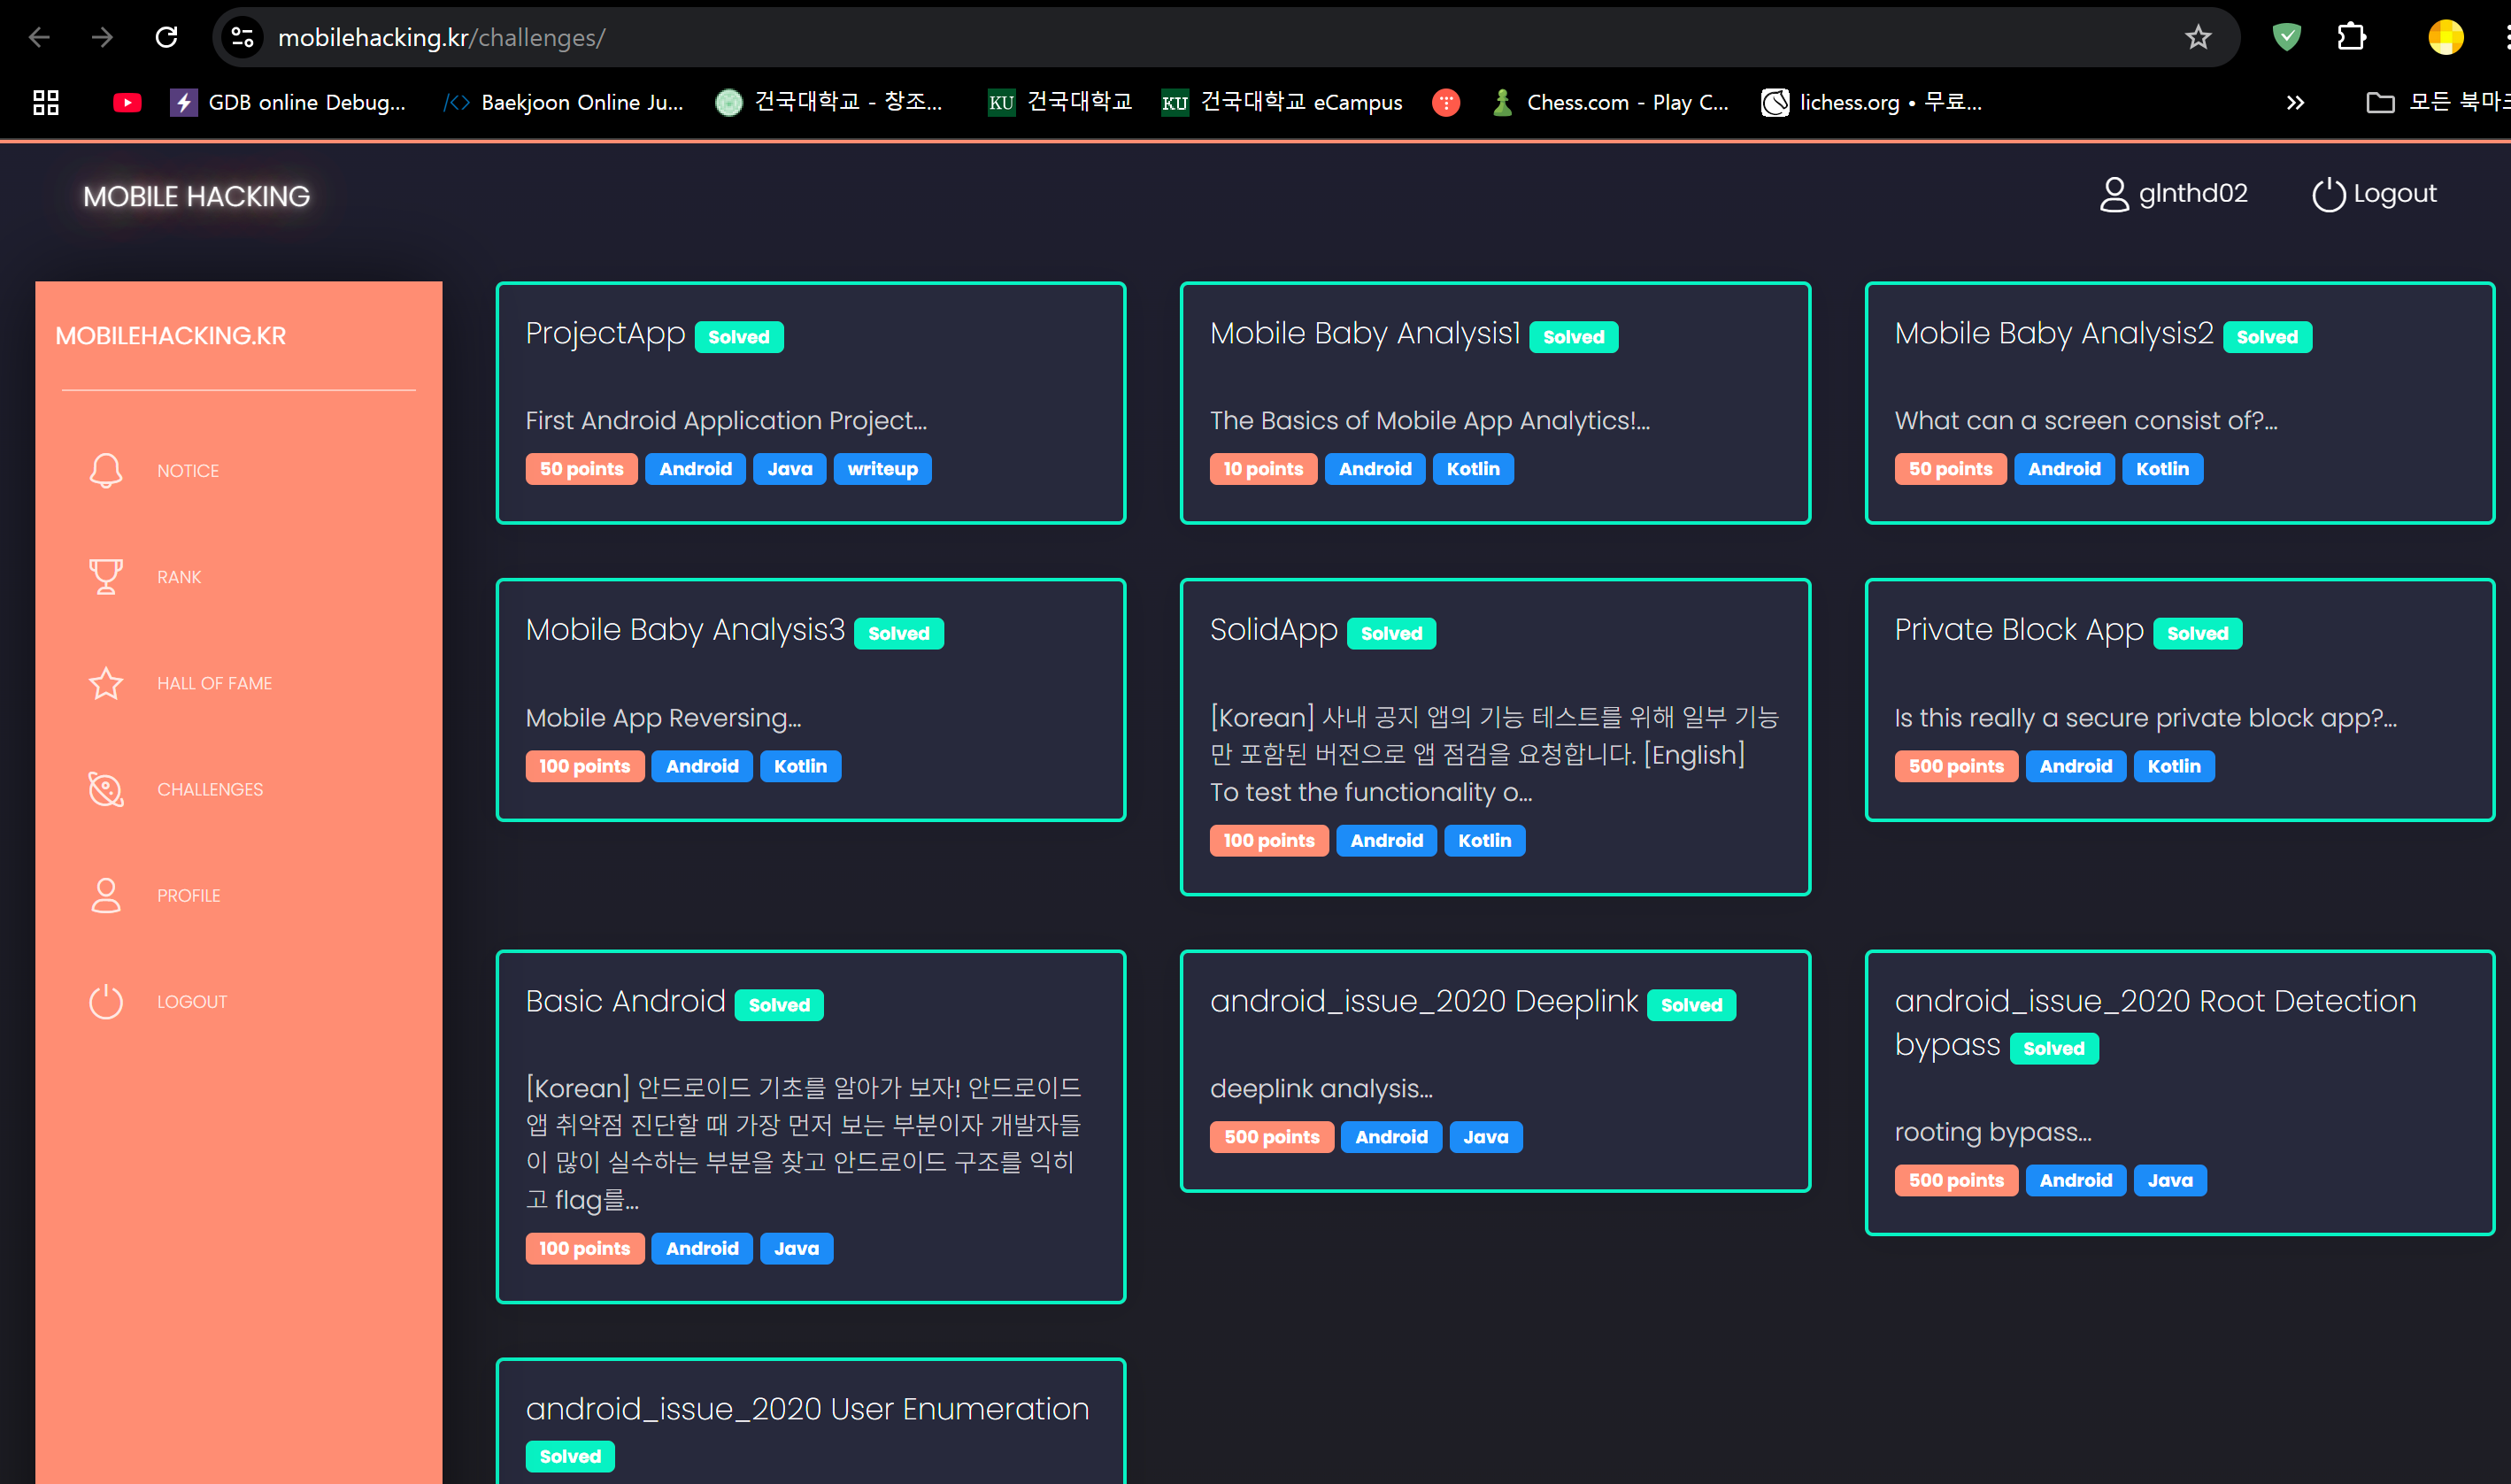
블루스택에 주어진 apk를 설치하고 실행해보면
이렇게 입력 할 수 있는 칸과 SERIAL CHECK 버튼이 있다.
이정도만 보고 jadx로 apk 파일을 열어봅니다.
우선 AndroidManifest.xml에 들어가서 보니까
1
2
3
4
5
6
7
8
9
10
11
<activity
            android:name="com.ctf.projectapp.MainActivity"
            android:exported="true">
            <intent-filter>
                <action android:name="android.intent.action.MAIN"/>
                <category android:name="android.intent.category.LAUNCHER"/>
            </intent-filter>
            <meta-data
                android:name="android.app.lib_name"
                android:value=""/>
        </activity>
를 보고 MainActivity에서 시작한다는 것을 알 수 있었다.
MainActivity
1
2
3
4
5
6
7
public void checkSerial() {
        if (decodeSecret().equals(this.serialEditText.getText().toString())) {
            showAlert("Correct!");
        } else {
            showAlert("Incorrect!");
        }
    }
가장 눈에 띄는 함수는 Correct!와 Incorrect!를 나누는 이 함수.
1
if (decodeSecret().equals(this.serialEditText.getText().toString()))
의 조건을 보니 getText는 입력받은 값일 테니 decodeSecret()과 입력한 값이 같으면 될 것 같다.
바로 밑에 decodeSecret() 함수도 있어서
1
2
3
4
5
6
7
8
9
10
11
12
private String decodeSecret() {
        try {
            InputStream openRawResource = getResources().openRawResource(R.raw.secret);
            byte[] bArr = new byte[openRawResource.available()];
            openRawResource.read(bArr);
            openRawResource.close();
            return new String(Base64.decode(new String(bArr), 0));
        } catch (IOException e) {
            e.printStackTrace();
            return "";
        }
    }
보면 openRawResource를 R.raw.secret에서 가져온 후 base64를 디코딩한다.
R은 resource이므로 resoure.raw.secret에 가보면
1
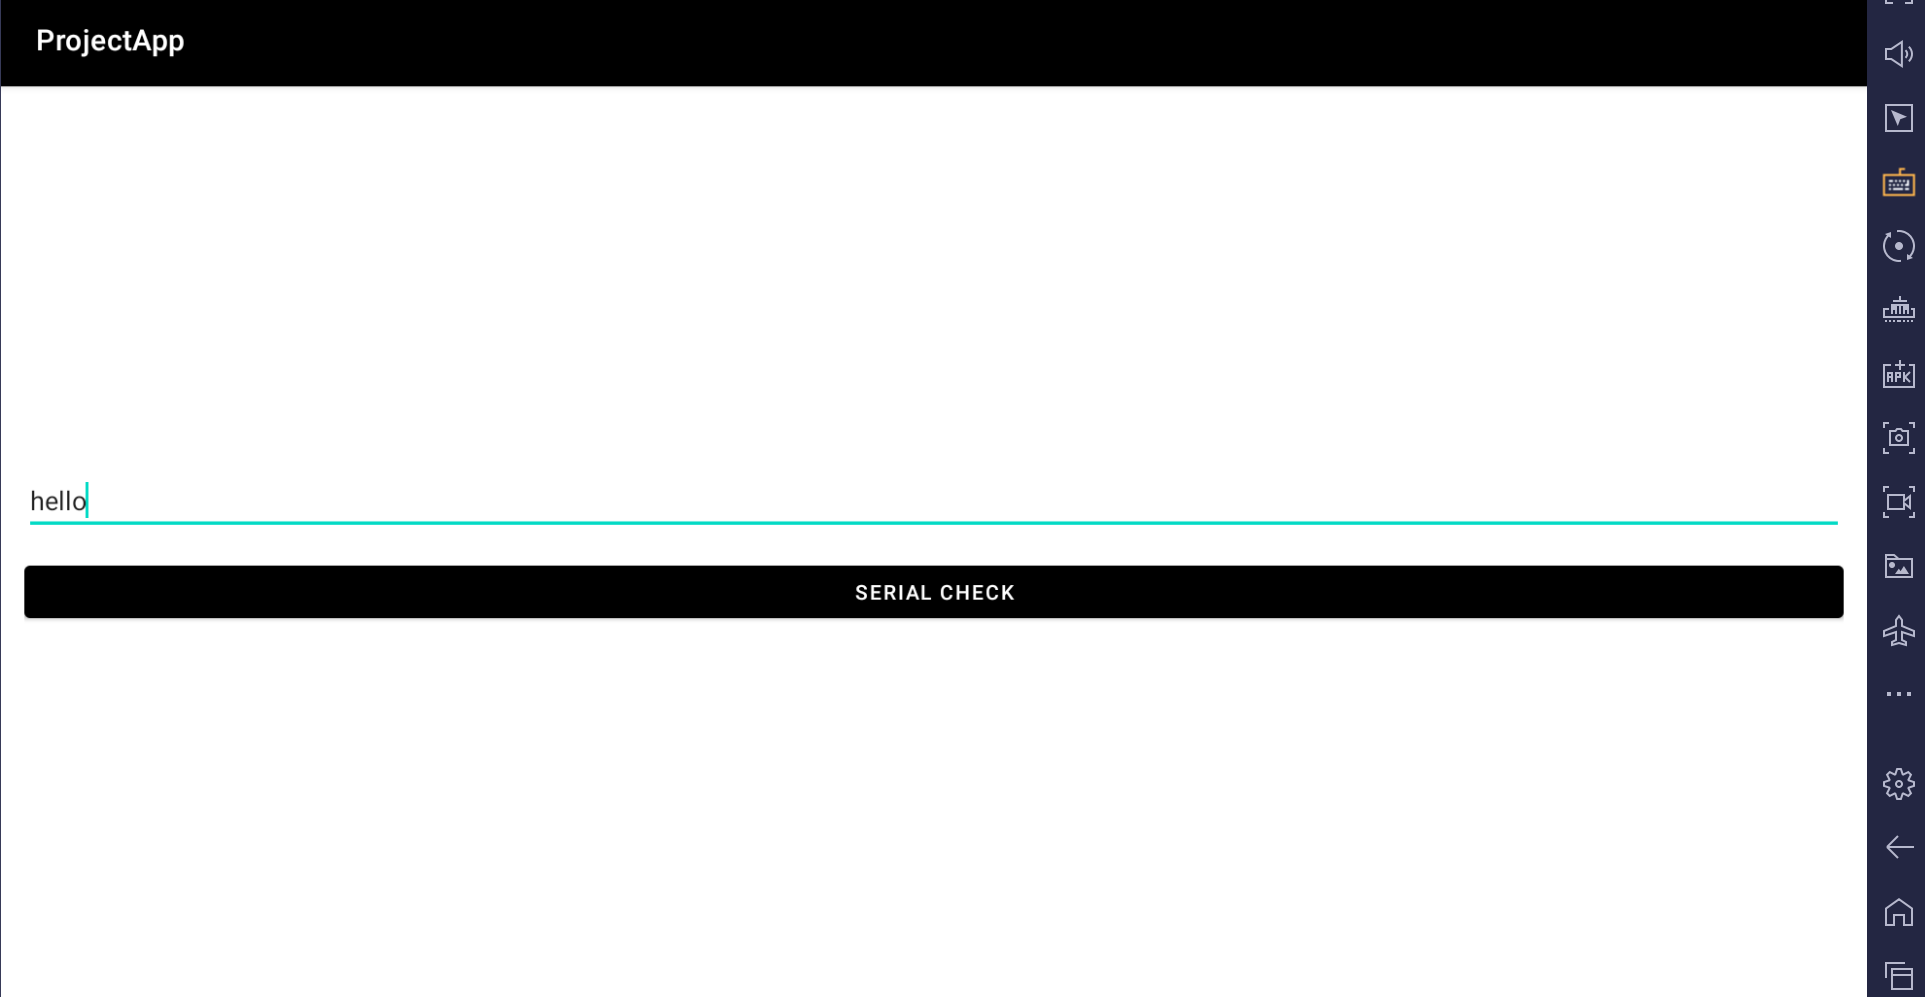
ZmxhZ3toZWxsb19wcm9qZWN0XzRwcH0=
이런 값을 볼 수 있고, base64로 돌려보면 flag{hello_project_4pp}가 나온다. 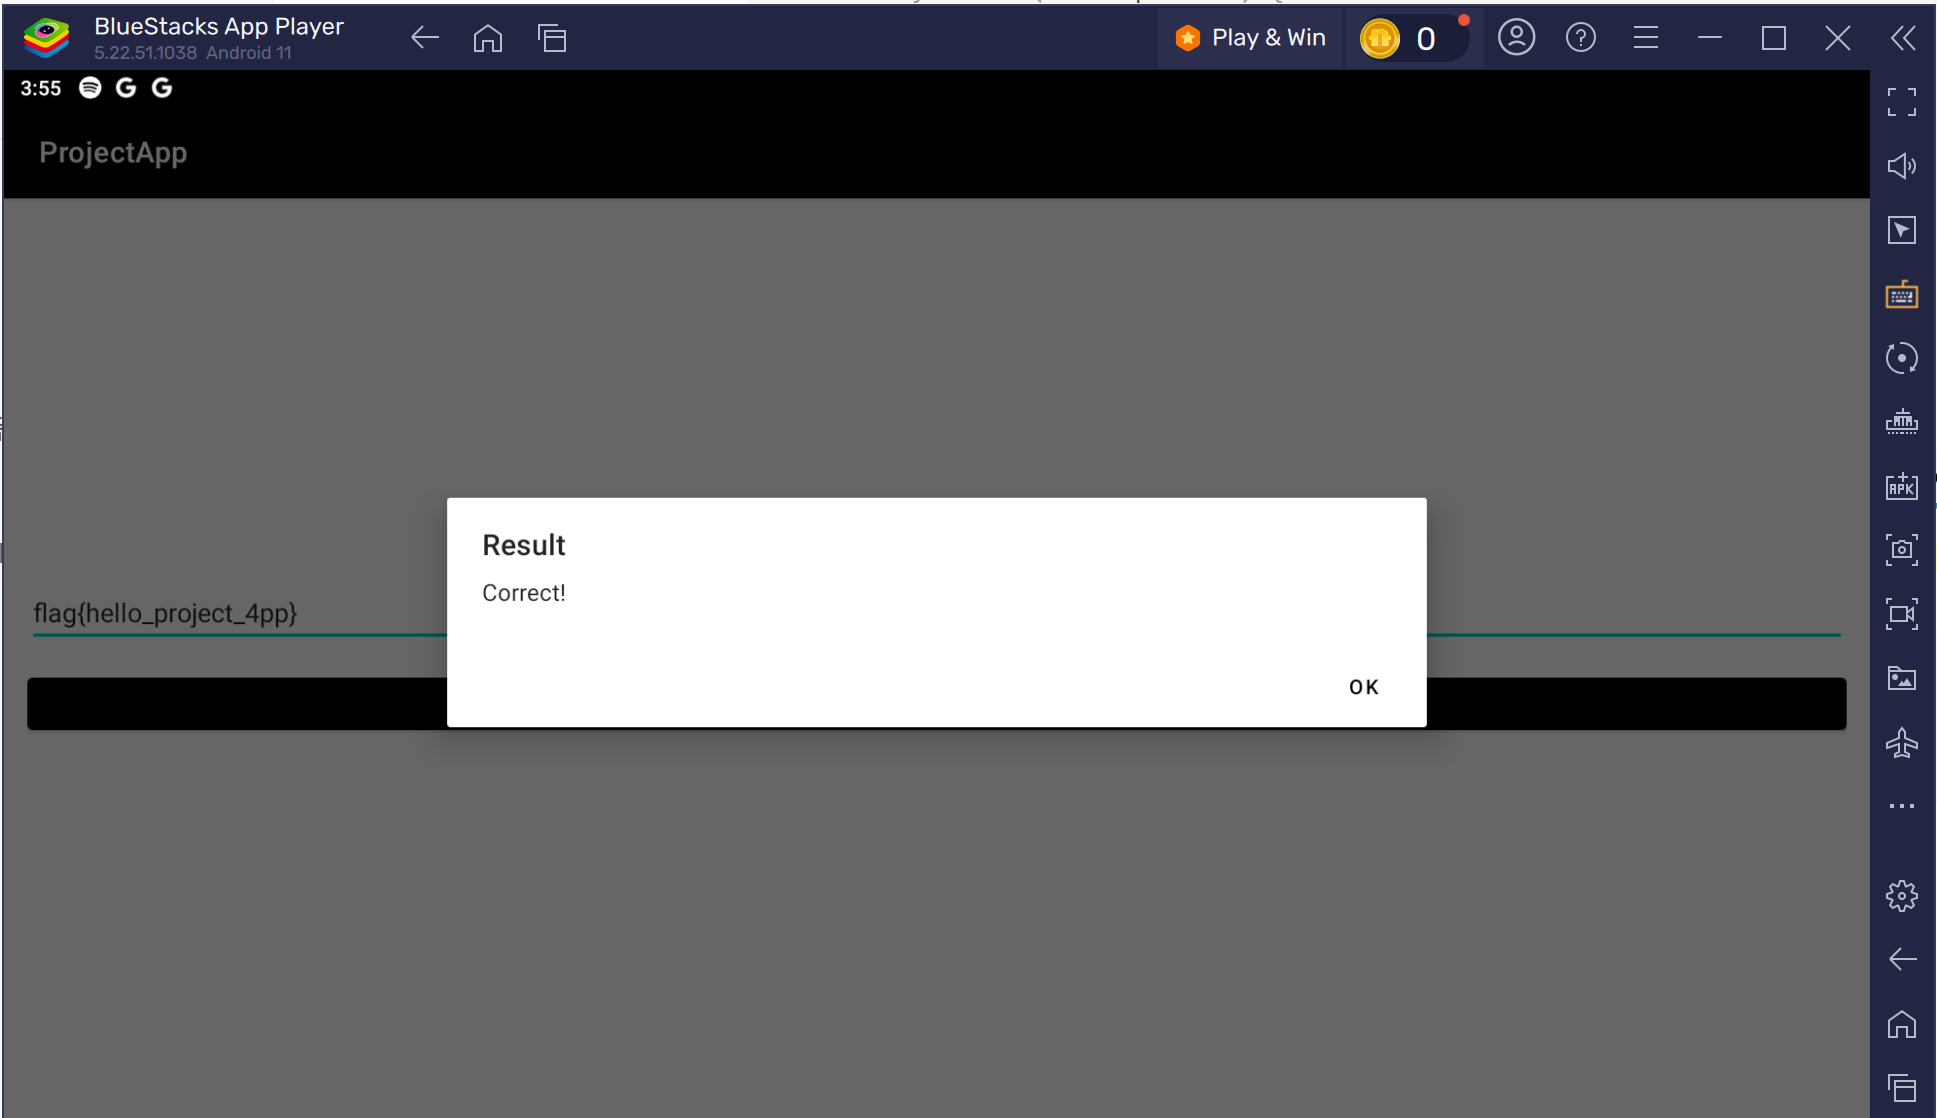
리버싱 문제에서 많이 볼 수 있는 유형의 문제였다.